Why test your soil?
Soil testing can be a relatively simple, cost effective management strategy to help optimise profitability and correctly identify important soil problems. Test results are particularly useful when making decisions on inputs. In an agricultural context, soil testing is commonly used:
- to help identify the main reasons for poor plant performance (diagnostic tests),
- to confirm nutrient status and warn of deficiencies,
- to predict likely response to fertiliser rate and type for individual situations, and
- to monitor changes in soil health in response to changes in land use and management.
The condition of a particular landscape, catchment or ecosystem can be assessed using a range of measurement parameters including biophysical, economic, social, management and institutional attributes. Visual indicators such as soil surface crusting, erosion, and visible crop symptoms can alert us to problems and are often the first means of identifying a soil problem that is limiting production.
In agriculture, soil tests usually involve chemical extractions designed to measure ‘available’ nutrients and indicate nutrient deficiencies that may need to be remedied but other kinds of tests include observations in the field, field testing (e.g. with a penetrometer for compaction), remote sensing (with satellites and aircraft), proximal sensing (e.g. with an EM38), and the compilation of existing data to provide more detailed information on soil condition and health. Soil testing not only allows landholders to assess the current soil condition, but also enables them to assess the impact of changed management practice on these indicators and be used to guide adaptive management.
Soil chemical tests are becoming increasingly important as a soil fertility and fertiliser management tool for efficient crop production, providing a useful basis for cost effective and environmentally responsible fertiliser decisions. There is always some uncertainty associated with any single soil test, so regular testing (say every 1-5 years depending on the tests and decision making) is much more useful than a single soil test. This allows the landholder to observe longer term trends in soil fertility and ensures anomalous (or unusual) results in any one year become obvious. Armed with this information – together with plant tissue tests, the farm’s cropping, pasture and fertiliser history, and a strategy for each paddock (e.g. build up, replace, or run down the nutrient level) there is greater certainty in maintaining the soil resource for future production.
There are four main steps in soil testing:
- The collection of a representative soil sample
- Laboratory analysis
- The interpretation of the analysis to provide a financial recommendation for fertiliser usage
- The recording of these steps for future reference and relating them to yield. Good records are an essential part of a soil testing and nutrient management program.
A multitude of soil tests are available including (but not limited to):
- soil nutrient levels e.g. nitrogen (N), phosphorus (P), potassium (K), sulphur (S), calcium (Ca), magnesium (Mg), iron (Fe), manganese (Mn), copper (Cu), zinc (Zn), boron (B), molybdenum (Mo), aluminium (Al, a toxic element),
- soil physical properties e.g. particle size analysis, moisture content, soil strength,
- soil chemical properties e.g. soil acidity (pH), electrical conductivity (EC), cation exchange capacity (CEC),
- soil biological properties e.g. soilborne diseases, soil organic carbon, and
- soil contaminants such as pesticide residues or heavy metals.
Soil testing is often performed by commercial laboratories that offer an extensive array of specific tests but there is also a number of do-it-yourself kits available. Laboratory tests are more accurate and frequently include professional interpretation of results and recommendations, but due to cost may be done only on a smaller number of samples. On-farm diagnosis, though less accurate, allows a rapid and broad spectrum of soil analyses (e.g. pH, EC, soil dispersion and penetrometer measurements) and can be combined with on-farm trials to determine the preferred management strategy for individual paddock or management zones.
Seek advice from an independent agronomist if you need help in deciding which test (or tests) to conduct. In some cases, it may be sufficient to have very basic tests done, such as starting with pH. In other cases, a comprehensive analyses for major and trace elements, exchangeable cations and soil organic carbon levels will be more appropriate.
Soil sampling and analyses
Soil sampling is possibly the most neglected step in soil testing, can be the most expensive component, and the greatest source of error in the whole process.
Before the soil sampling is done, a soil monitoring program needs to be designed including identifying what to measure, where, how, and most importantly, why the data is being collected and how will the data be used to inform paddock management.
The following steps can be used as a guideline to establishing a soil monitoring program. The steps apply to all monitoring programs but the number of paddocks, sampling design within and across paddocks, frequency of sampling, the attributes measured, interpretation and integration with other soil and farm information, all vary depending on the management decisions that will be guided by the soil monitoring program.
Establishing a soil monitoring program
- Determine the purpose of establishing the soil monitoring program.
- Start by selecting at least 3-5 paddocks that will be regularly monitored.
- Determine the properties of the soil to be monitored in each paddock.
- Measure soil property indicators. Conduct sampling at about the same time each year and under approximately the same environmental conditions.
- Follow a consistent pattern of sample collection and measurement on each paddock.
- Record results
- Identify paddocks with indicator values that fall outside the optimum range and determine a suitable course of action.
- For each indicator, note consistent patterns of change in the short term (2-3 years) and trends over the longer term (>3 years).
Monitoring sites should represent a range of cropping (including pasture) conditions on your farm such as:
- paddocks at different points in a standard crop rotation (same soil type),
- paddocks on different soil types under the same rotation,
- paddocks with typically good vs. typically poor crop performance,
- paddocks which represent different soil management practices (e.g. minimum vs. conventional tillage, with vs. without grazing).
Avoid fences (especially headlands), gateways, tramlines, water troughs, shelterbelts and areas of double cultivation (e.g. paddock diagonals). Also avoid obvious dung and urine patches, stock camps and small areas of unusual crop growth (high or low).
Soil monitoring can be carried out after crop harvest or before seeding in autumn, but before the paddock is cultivated. Sampling closer to sowing will better reflect nutritional status which may be affected by out of season rainfall. Do not monitor directly after the application of soil amendments or fertiliser application.
Sampling method
Soil characteristics are variable both in time (temporal) and space (location in the paddock or on the farm). It is essential to get an accurate measurement of soil attributes by adjusting the sampling strategy and number of samples to adequately represent the variation in soil and land use.
Sampling often limits the success of a soil test. A hectare of soil 10 cm deep with a bulk density of 1.4 g/m3 contains about 1,400 tonnes of soil. A landholder may send in a sample weighing between 300-500 g depending on the requirements of the laboratory but only a small fraction of this (e.g. 10 g) will be used in the analyses. This represents only 1 part in 140 million from a 10 hectare paddock. As a consequence, it is crucial to ensure that samples are representative of the area to be managed.
Bulking or mixing soil from several locations to create an average (or composite) sample is a common procedure. However, averages can hide problems if there is a big range in the soil you have sampled. Nutrient levels in the soil vary in even a small area, but the variation is greatest where there are differences in soil type, past land use and management.
Several soil types can usually be found in one large paddock. Where soil differences in a paddock are obvious and where these can be treated differently, it is advisable to sample each area separately. Where paddocks or the farm have been set up for precision agriculture with management zones, samples within a single zone can be bulked to reduce the number of tests (and hence cost) required, and often result in more accurate estimates of nutrient availability. Sample points for testing soil texture, salinity, or specific constraints (e.g. acidity, compaction) can also be informed from yield maps, satellite images of biomass, and radiometric and EM maps.
Further reading
External link Soil sampling high rainfall pastures in Western Australia
Department of Primary Industries and Regional Development
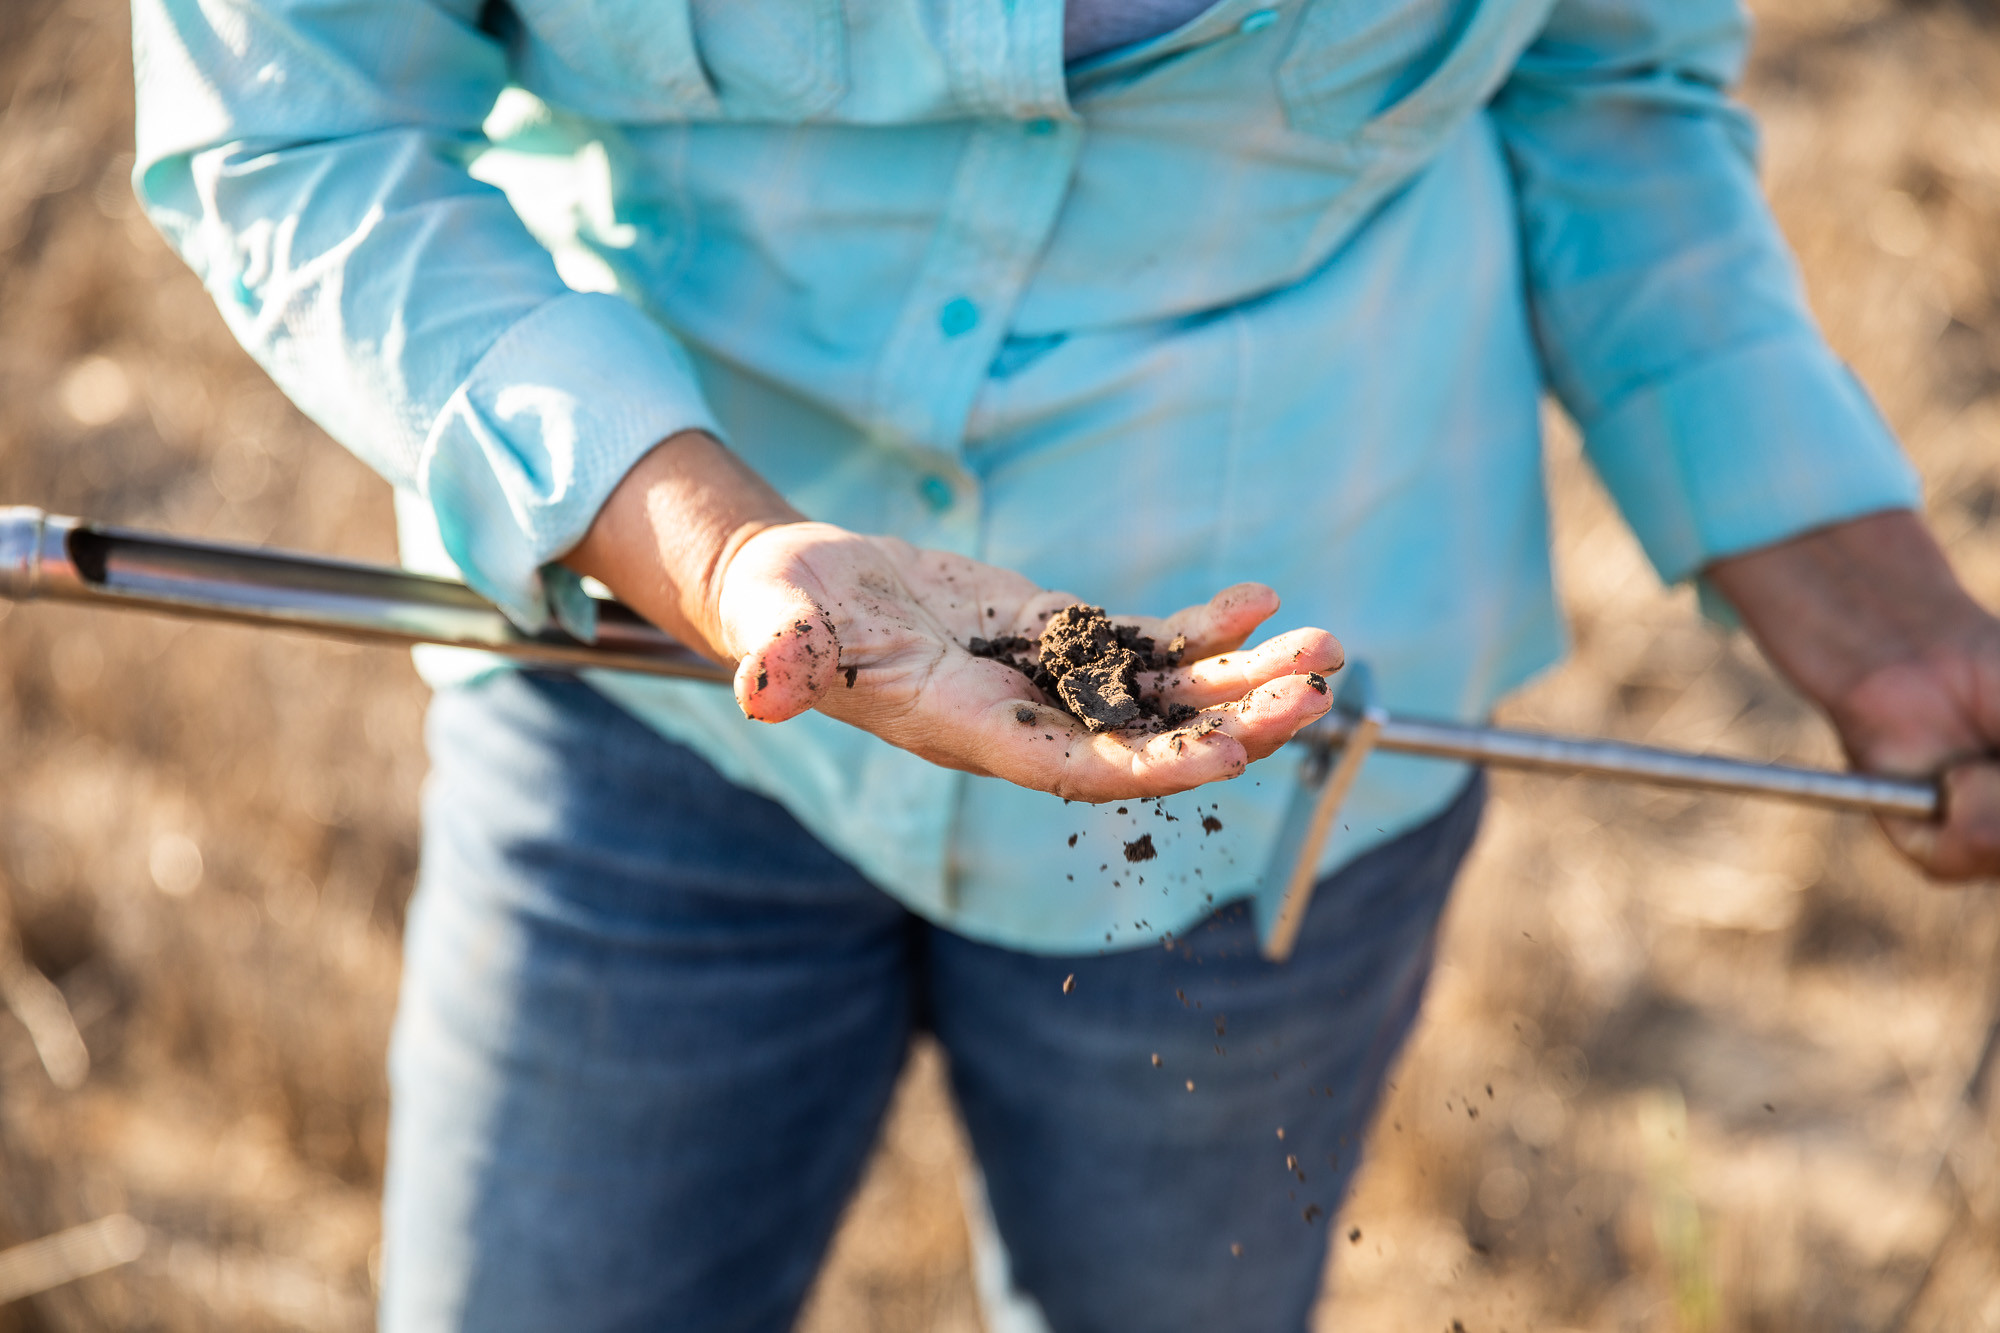
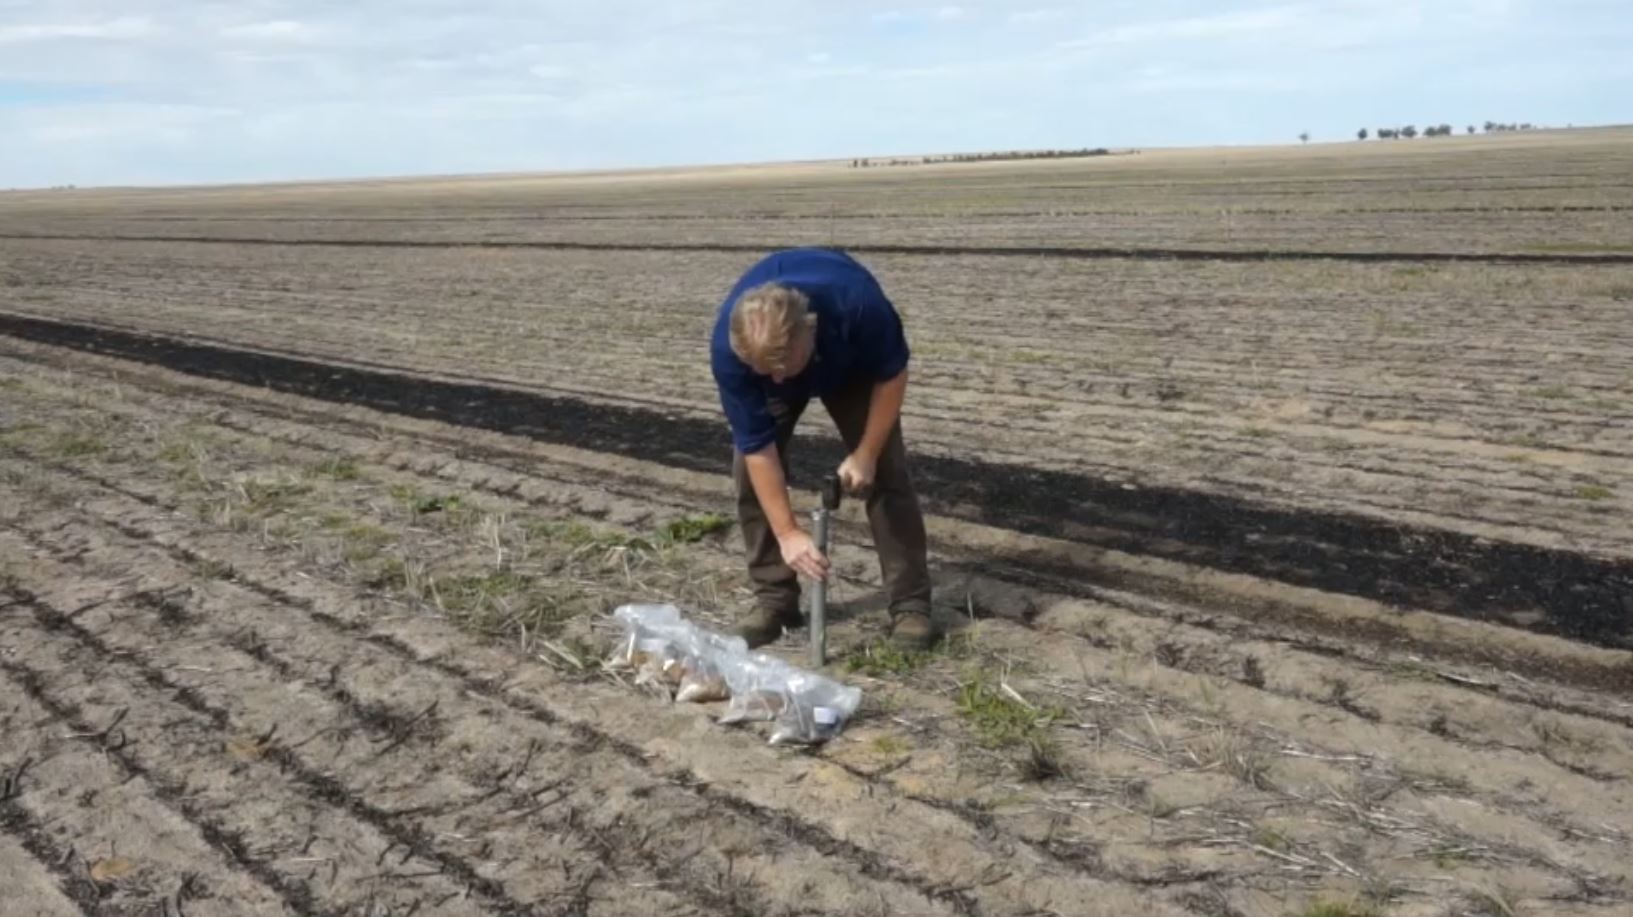
Samples should be taken across the paddock using a tool that samples a uniform volume to a target depth with depth increments marked on the outside to indicate the depth of sampling. Multiple samples using tubes, ‘pogo’ or augers are more suitable than a single shovel of soil. A shovel can be used to investigate problem areas but it is difficult to get a uniform volume of soil using a shovel which compromises the test result.
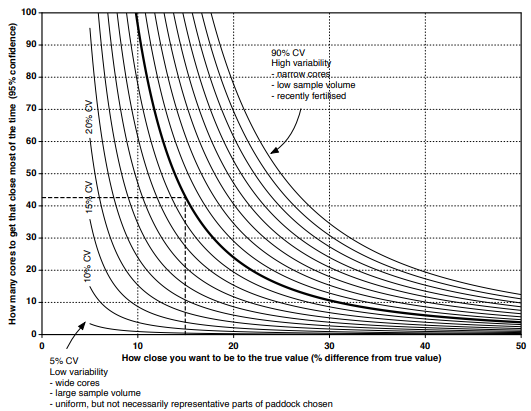
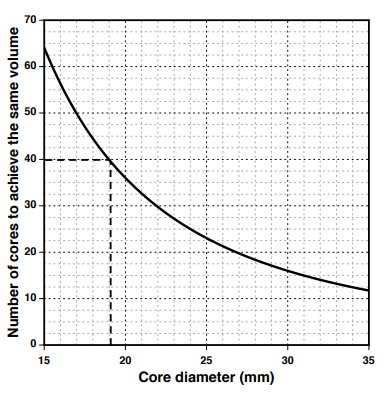
The recommended number of cores to take in an area is determined by the relationship between the core size (volume of soil sampled) and the variability of what is being tested. The goal is to collect enough soil to be representative of the ‘true’ paddock levels. A grid or zigzag sampling system is often used to sample large areas. Paddocks with evident changes in soil type, topography or vegetation, or those with differences in plant growth are likely to reflect different soil conditions. These paddocks should be divided into areas based on these differences and separate soil samples collected from each area.
Samples should be well mixed in the field to ensure a representative subsample is taken if required when sending the soil samples for analysis. Laboratories generally need between 0.5 to 1.0 kg. Sending larger soil volumes can occur additional expense in freight and sample handling fees.
Further reading
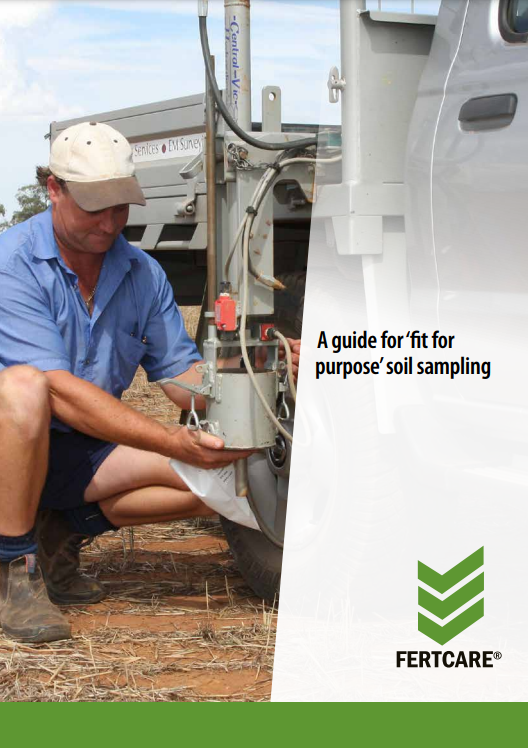
Publication A guide for ‘fit for purpose’ soil sampling
Gourley CJP and Weaver DM (2019). Fertilizer Australia, Canberra, Australia.
- Avoid contaminating the sample and equipment with fertilisers or other sources of nutrients
- Avoid collecting samples on sites such as old fence lines, filled in irrigation channels, near trees or old stumps, or if the soil is excessively wet
- Sample areas of poor as well as good crop growth, for example where a problem has been observed in previous crops
- Sample within and between crop rows as appropriate.
- Make a reference map and record where and how many samples you took in a paddock.
As farming systems change it is important to consider where it is important to sample. For example, in some systems, accurate placement of fertiliser in bands has replaced broadcasting of fertilisers on the soil surface. Therefore the nutrient availability may be very different on and off-row. Ineffective spreader set-up can also affect nutrient distribution, as well as harvest residue management. Minimum tillage cropping systems no longer regularly cultivate which previously helped distribute the nutrients more evenly through the soil profile. As immobile nutrients phosphorus, copper and zinc remain where they were applied as fertiliser, it is recommended is to sample alternately from within the planting row and between the rows (on inter-row spacing) each time you sample to obtain a more representative estimate for the paddock as a whole. Trace element deficiencies are better diagnosed from plant tissue tests.
Consider the following additional items when designing a sampling program:
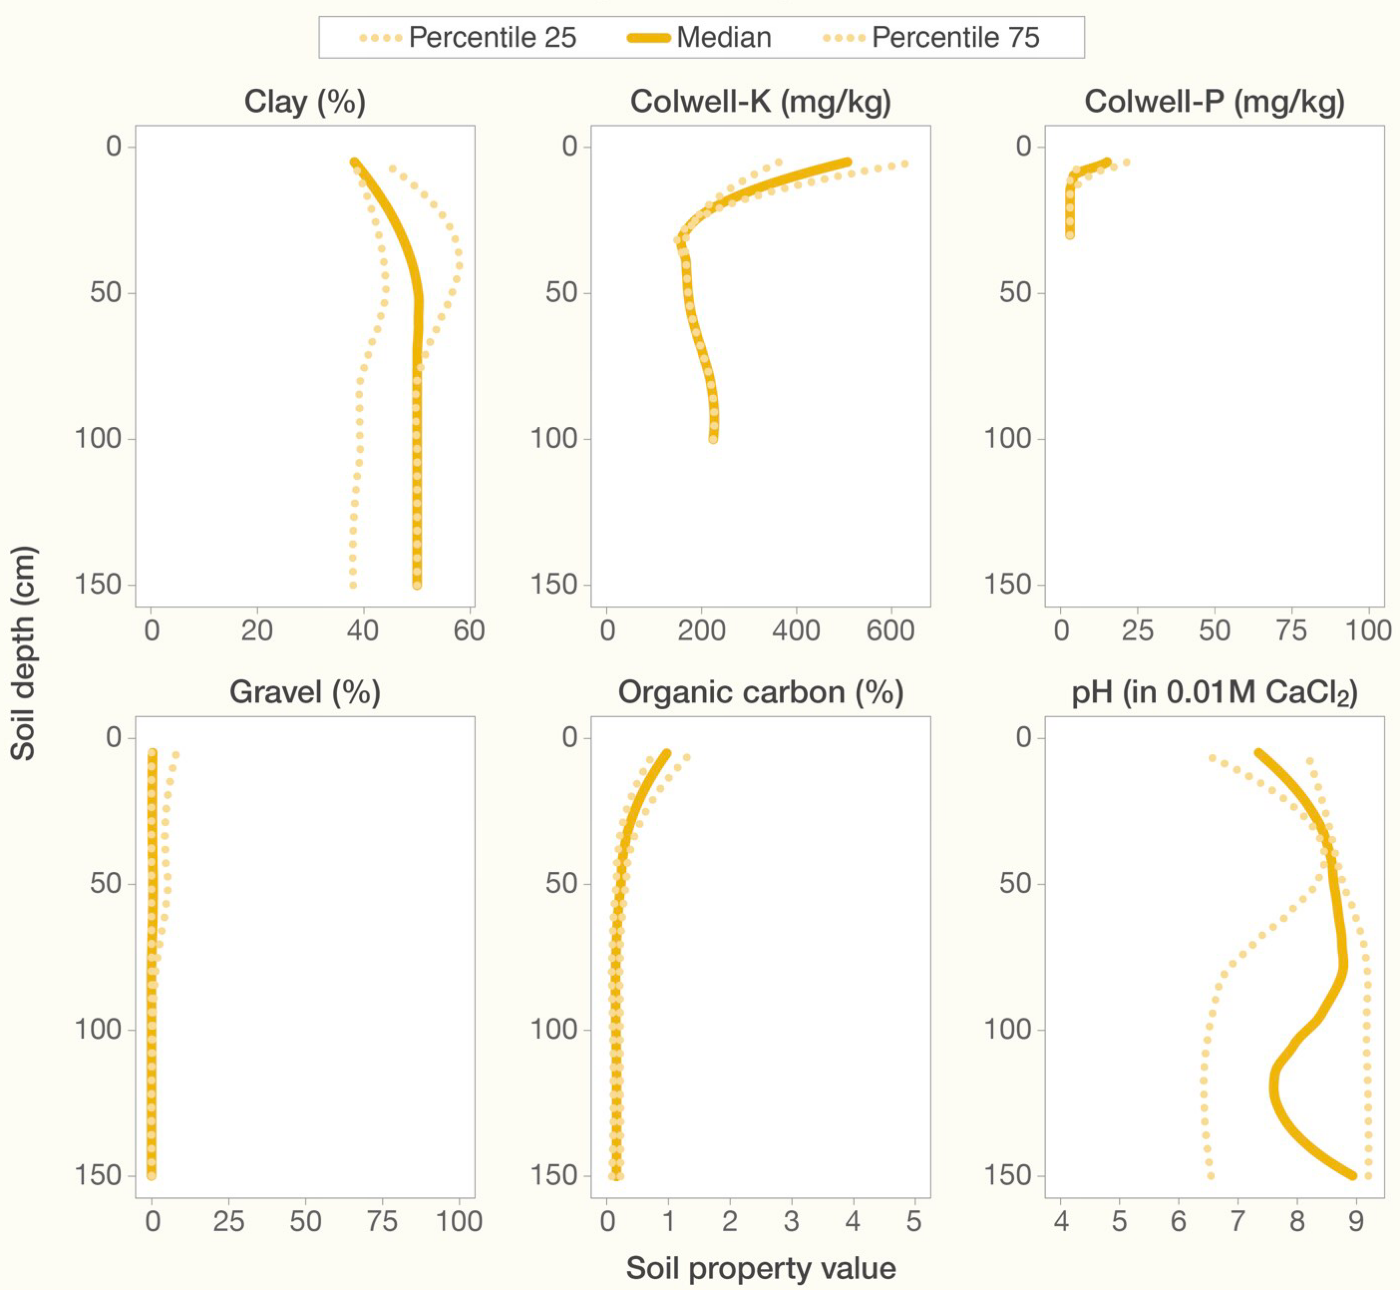
Consistent soil sampling to the same depth is required. Depending on land use, the appropriate sample depth will change, but often a 0-10 cm sample is recommended for agricultural topsoil as this represents the ‘managed’ zone of soil. To provide a more accurate estimate of plant available nutrients and subsoil constraints, deeper soil sampling in either defined depth increments or for each horizon depth will provide additional information.
See ‘Physical and chemical properties of common WA soil types used for crop production‘ for various soil profiles and how physical and chemical properties vary at depth.
Optimally, soil profiles should be described for those layers where roots are able to grow and take up water and nutrients (the effective rooting depth). The rooting depth of most agricultural plants will normally extend beyond the top 10 cm and frequently extend below 1 m. It is important to understand not only the features of the topsoil, but also the subsoil layers which contribute significantly to water (and sometimes nutrient) supply, and hence production.
Sampling by horizon
The topsoil or ‘A’ horizon is the uppermost part of a soil (often the cultivated layer) and contains the majority of organic matter, plant available nutrients and soil organisms. The depth of this layer can vary and is influenced by management and climate.
The subsoil or ‘B’ horizon often differs from the A horizon in colour, texture and structure, and can be relatively infertile. Material in this horizon predominantly results from leaching processes, as influenced by soil porosity and rainfall. In many soils, the B horizon contains higher amounts of clay than the A horizon, and the depth and water holding capacity of this horizon greatly affect the value of the soil for plant growth.
The C horizon is parent material (rock, partly decomposed rock or soil materials deposited many thousands of years ago). If the soil is shallow and the C horizon is rock, plant roots cannot penetrate and growth is restricted. In weathered (decomposed) rock plant roots can generally find their way down through the cracks and crevices.
Not all horizons are present in every soil. Do not mix soil from different horizons together as test results become erroneous to interpret and therefore manage. Also be mindful that multiple measurements within a horizon depth can provide more information than a single sample – for example, for a deep subsoil that appears uniform in texture will likely have a gradient for nutrient availability and pH closer to the surface which is best to detect. An average of the whole horizon in this case may mask any potential issues to productivity.
As the values of various nutrients and other soil indicators may vary during the year, sampling time is also important.
Sampling post-harvest may allow a landholder to purchase fertilisers in readiness for the next year’s sowing, whilst sampling just prior to sowing is beneficial for fertiliser rate decisions and can reflect any losses or gains that occurred during the non-growing season due to leaching or mineralisation of organic matter. Most comparisons are based on midsummer (January to March) sampling when the soil is dry.
Test at the same time of the year to help improve your ability to compare results between years. Sampling during the growing season may be beneficial in responding to tactical opportunities for increased production. Plant tissue testing during crop growth will also provide an accurate estimate of plant uptake and future requirements.
Soil samples should be kept cool and sent to the laboratory as soon as possible (e.g. on the day they are collected), or alternately should be dried at low temperature (e.g. 40°C in an oven or spread on plastic sheets in the sun) as quickly as possible to minimise chemical changes that may occur during storage or in transit. Most laboratories prefer samples sizes of 0.5 to 1.0 kg.
There is any number of laboratories offering a range of seemingly similar analyses for soils. There is also a wide range in methods, quality assurance and interpretation services. In an effort to establish increasing quality control, laboratories can now be certified by the Australian Soil and Plant Analysis Council Inc (ASPAC). This system, along with others such as ‘Fertcare‘ provides confidence through soil testing method standardisation and accreditation for the purpose of improving measurement performance and assisting with the interpretation of results.
Inevitably there is a degree of measurement uncertainty in laboratory analytical results, but the certification system imposes the need for this uncertainty to be held within acceptable limits. This should lead to a reduction in variation between laboratories and allow more meaningful interpretation of results. Therefore although there is some degree of uncertainty associated with a soil test, in-field variability and inappropriate soil sampling techniques are likely to introduce larger variations and errors than the laboratory analyses. Regular soil testing and analysis will aid in building up a history which shows trends through time, but care must be taken in ensuring that analyses done from year to year are undertaken using the same methods for analysis, to reduce errors associated with different analytical techniques or sample handling.
Data recording and management of fertiliser decisions and soil test results are essential for planning and performance evaluation (i.e. relating decisions and actions to yield and profitability). Good records are an essential part of a soil testing and nutrient management program.
Much of the science that underpins relationships between particular soil tests and crop and pasture responses to fertilisers and amendments is many years old. Accurate interpretation of soil test results and recommendations require an in-depth (and often localised) knowledge of the factors that link the particular test with likely responsiveness. Often soil critical values are derived according to yield (for example 95% of the maximum), although the benefit/cost ratio can alter the recommended rate to some extent. Ultimately, the goal should be to achieve “the lowest possible fertiliser rate or soil test value/range required to produce maximum yield and/or profit and/or use of capital”.
It is critical that growers and advisors are aware of the method of analysis, which should always be stated, even for a simple test like pH (i.e. pH in water or 0.01M CaCl2) because this can affect the interpretation. The interpretation then depends on calibration of the test data with field measurements of crop yield and response for appropriate field conditions (e.g. soil, climate, crop species and variety). Where methods may have been developed and calibrated overseas (without local validation and sometimes on different crops), this is often an area where there is significant variability in the advice, with transparency of recommendations possibly blurred by ‘commercial-in-confidence’ issues.
Page references and acknowledgements
Material on this page adapted from:
- Hoyle FC (2007). Soil Health Knowledge Bank.
- Scanlan C, Weaver D, Bell R, Borrett R and Cheng M (2023). Soil Quality: 10 Plant Nutrition. SoilsWest, Perth, Western Australia. [Access]
Additional reference/s:
- Gourley CJP and Weaver DM (2019). A guide for fit for purpose soil sampling. Fertilizer Australia, Canberra, Australia. [Access]
Last updated July 2024.

